Environment and syntax
How to Install Swift on macOS
To set up Swift on macOS, you need Xcode, Apple's official
Integrated Development Environment (IDE) for building applications
across all Apple platforms. Xcode comes with a complete set of
tools, including a Swift compiler, debugger, and simulator, allowing
developers to write, test, and deploy Swift applications
efficiently. br
Xcode supports multiple programming languages, including Swift,
Objective-C, Java, Python, C++, and C, making it a versatile
development tool.
Steps to Install Xcode on macOS
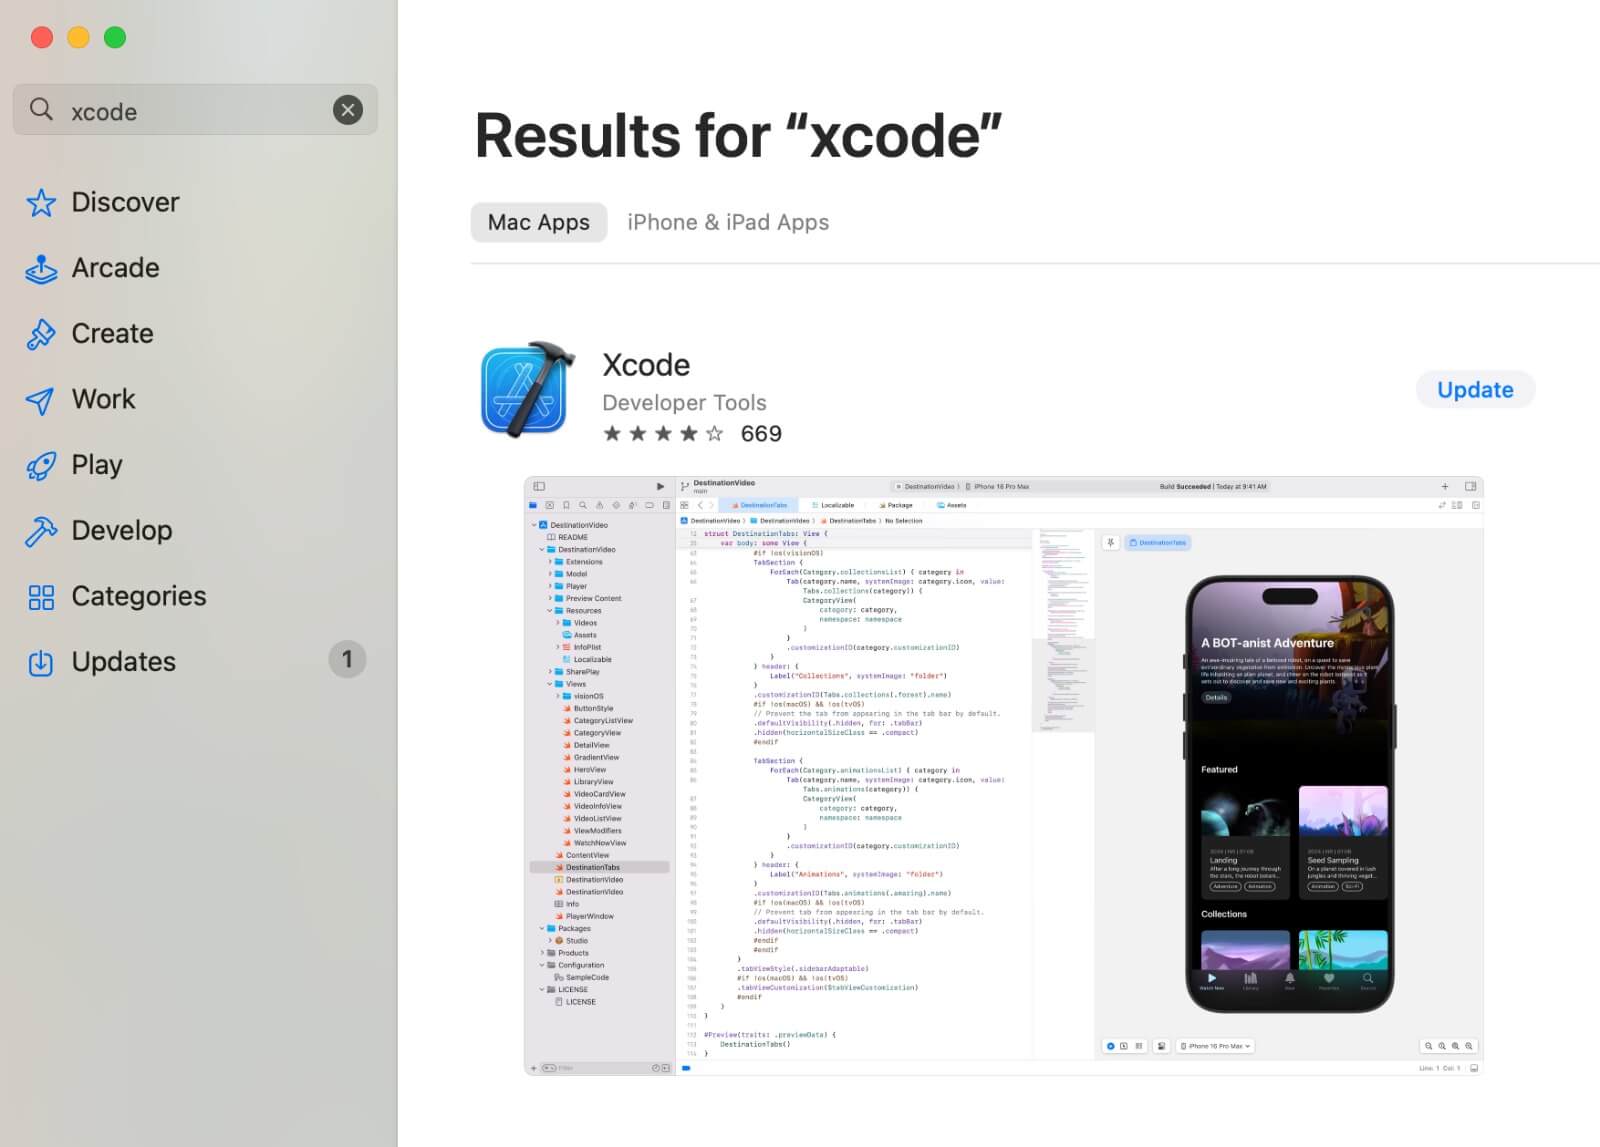
1. Open the Mac App Store – Launch the App Store on your Mac.
2. Search for Xcode – Type “Xcode” in the search bar and locate
Apple’s official IDE.
3. Download and Install – Click “Get” and then “Install” to begin
downloading Xcode.
4. Wait for Installation – The installation process may take some
time, depending on your internet speed.
5. Once installed, find Xcode in the Applications folder or use
Spotlight (Cmd + Space) → Type "Xcode" → Press Enter.
6.Launch Xcode – Once installed, open Xcode, accept the license
agreement, and allow it to install additional components if
required.
Alternatively, you can download Xcode directly from Apple’s official
website: Swift.org
After installing Xcode, Swift is automatically available on your
Mac, and you can start coding using Xcode’s playgrounds or the
Terminal Swift REPL.
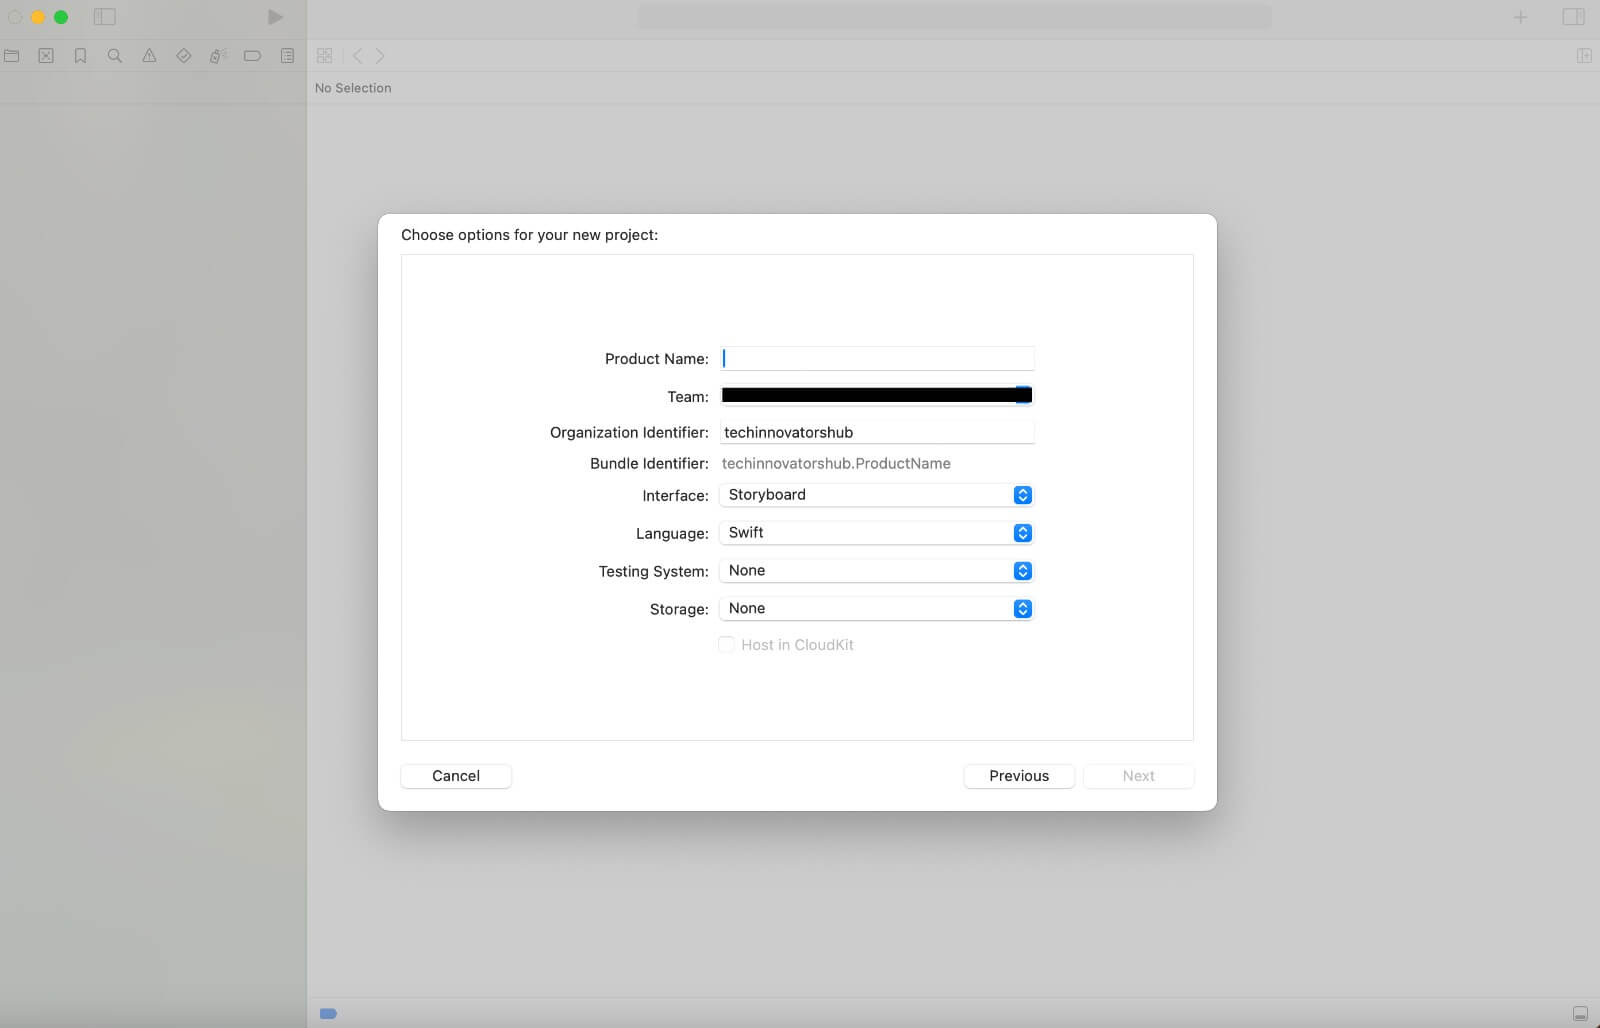
7. Click "Create a new Xcode project"

8. Select a location to save your playground and click Create.
9. Write Swift Code
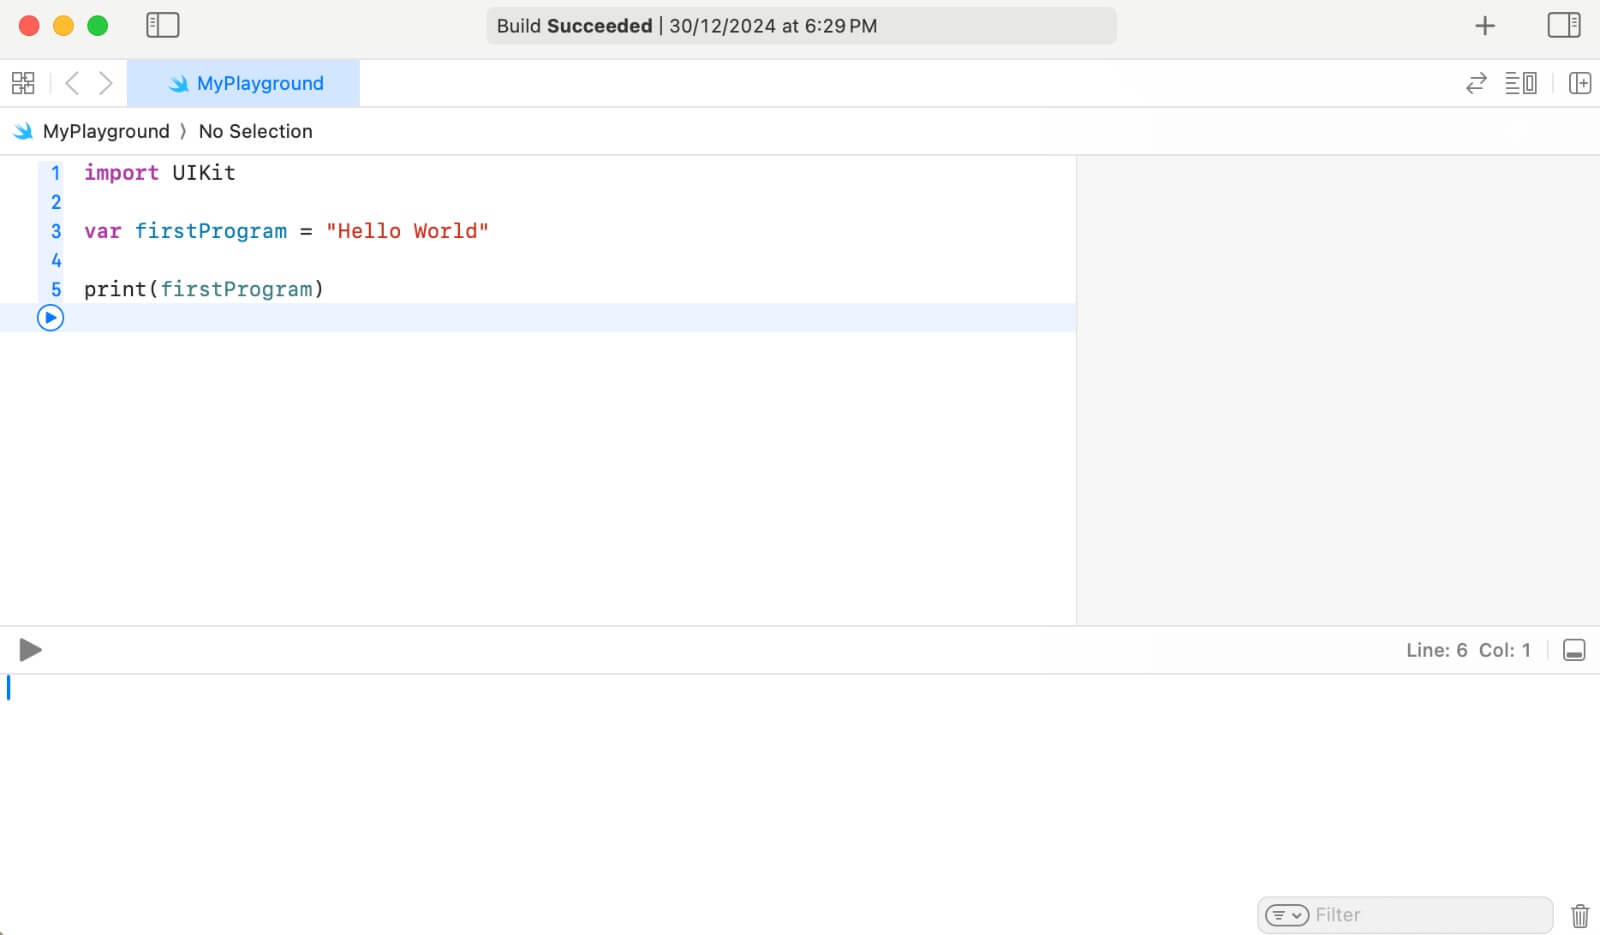
10. Run the Code
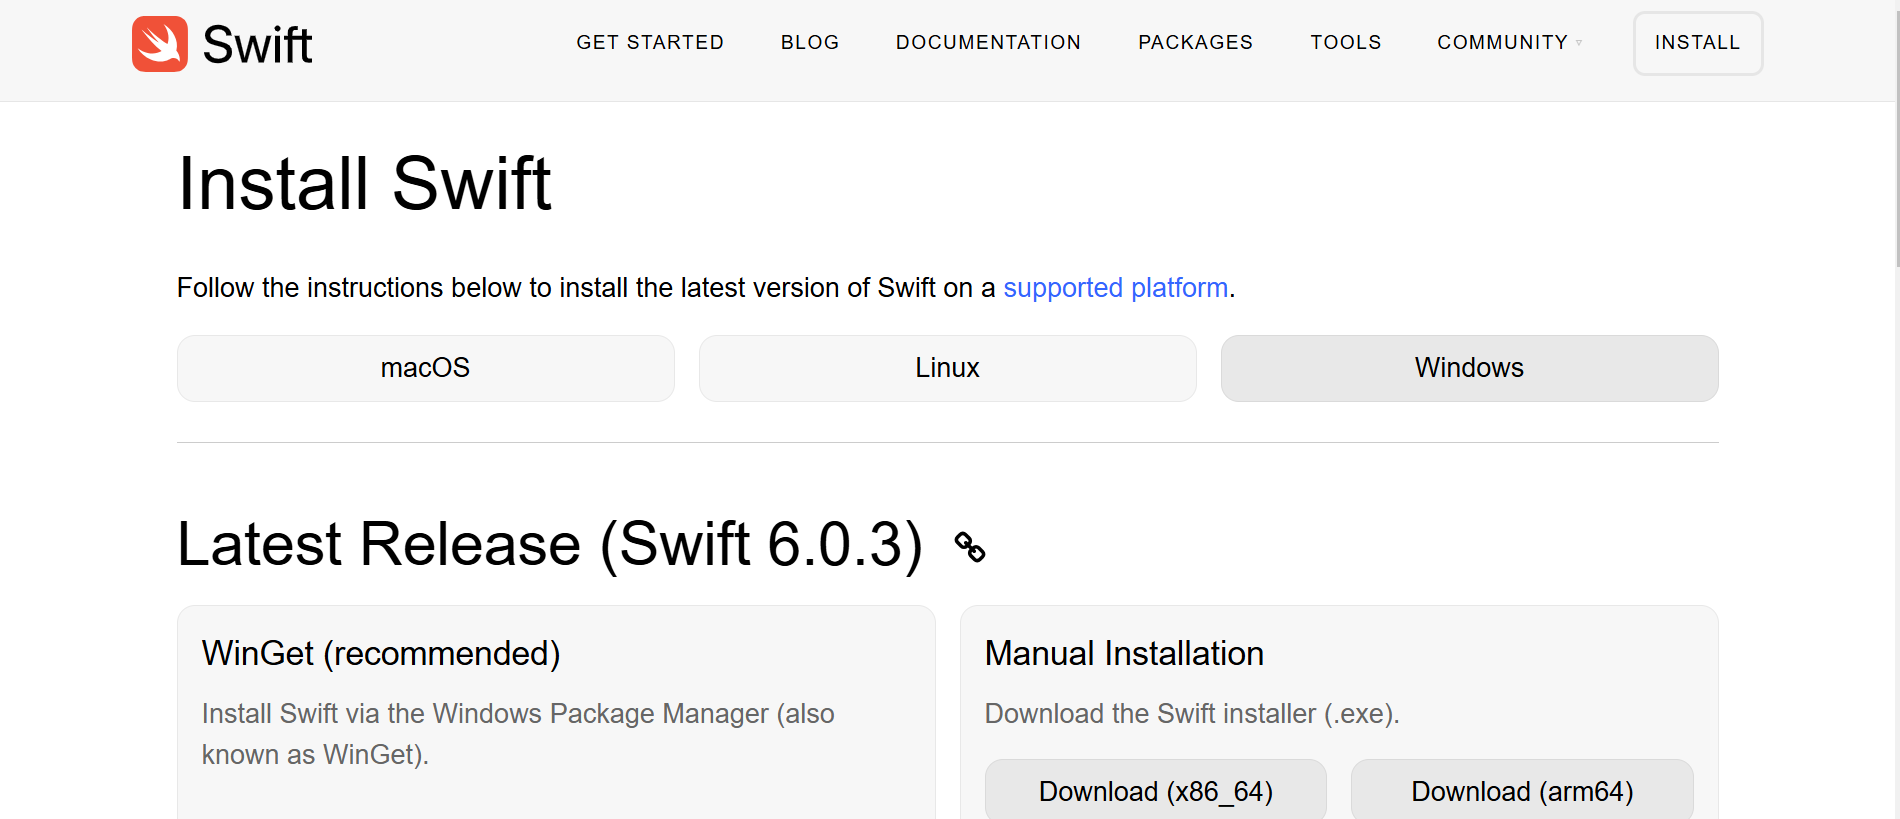
How to Install Swift on Windows
Although Swift is primarily designed for macOS, it can be installed on Windows using third-party tools. Follow these steps to set up Swift on your Windows system:
Step 1: Download Swift for Windows
- Visit the official Swift website: Swift.org
- Download the latest Swift for Windows package.

Step 2: Install Dependencies
Before installing Swift, ensure you have the necessary dependencies:
- Visual Studio – Install the Visual Studio 2019/2022 with the "Desktop development with C++" workload.
- Windows Subsystem for Linux (WSL) – Some Swift features may require WSL for better compatibility.
- LLVM (Clang for Windows) – Swift requires LLVM to compile and run properly.
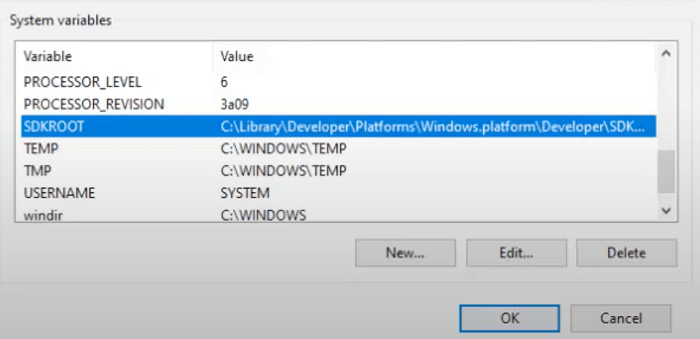
Step 4: Set Up Environment Variables
- Open Control Panel > System > Advanced System Settings
- Click on Environment Variables
- Under System Variables, locate Path, and click Edit
- Add the Swift installation path (e.g., C:\Swift\bin)
- Click OK and restart your computer to apply changes
Step 5: Verify the Installation
Open Command Prompt (cmd) or PowerShell
Type:
Swift --version
If Swift is installed correctly, it will display the installed
version.
Now, you can start coding with Swift using Command Prompt,
PowerShell, or Swift Playgrounds on Windows!
Swift - Basic Syntax
Once Swift is successfully installed, running swift --version in the terminal will confirm the installed version. Swift is a modern, expressive, and easy-to-use programming language designed for building applications across Apple’s ecosystem. It supports both object-oriented and functional programming paradigms, making it a versatile and powerful choice for developers.
Basic Swift Program
Here’s a simple Swift program to display "Hello, World!"
/* My first Swift program */
var myString
=
"Hello, World!"
print(myString)
Following is the output of the above program −
Hello, World!
This example demonstrates Swift’s clear and concise syntax, which makes it easy to read, write, and maintain.
Importing Libraries
Swift allows importing Objective-C frameworks, C libraries, or Swift modules directly into your program using the import statement.
Syntax:
import frameworkName or LibraryName
Example
import Foundation
Here, the Foundation framework is imported, which provides essential data types and functions.
Swift Tokens
A token is the smallest element of a Swift program, used to build the language structure. Swift programs consist of various tokens, such as:
- ✔ Keywords (e.g., var, import)
- ✔ Identifiers (e.g., variable names)
- ✔ Constants (e.g., 34, "Hello")
- ✔ String literals (e.g., "Swift Programming")
- ✔ Symbols (e.g., +, =, {})
Example of Tokens in Swift:
import
Foundation
var muNumber
= 30
print(myNumber)
Output
30
In this example, import, Foundation, var, myNumber, print are all tokens in Swift.
Semicolons in Swift
Swift does not require semicolons (;) at the end of each statement, unlike C or Java. However, if multiple statements are written on the same line, a semicolon is required to separate them.
Example:
var x
= 10
Output
30
If semicolons are not used between statements in the same line, the compiler will generate a syntax error.
Swift - Reserved Keywords
Reserved keywords in Swift are predefined words that hold special meanings and functions within the language. Since they are reserved, they cannot be used as variable names, constants, or identifiers—unless they are escaped with backticks ( ).
Example:
var class
= "Swift"
// ❌ Error: 'class' is a reserved keyword
var `class`
= "Swift"
// ✅ Valid usage with backticks
print
(`class`)
// Output: Swift
These reserved keywords define the structure, behavior, and functionality of Swift programs.
List of Reserved Keywords in Swift
Swift reserves the following keywords:
1. Keywords Used in Declarations
- associatedtype
- class
- deinit
- enum
- extension
- func
- import
- init
- inout
- let
- operator
- protocol
- static
- struct
- subscript
- typealias
- var
2. Keywords Used in Statements
- break
- case
- continue
- default
- defer
- do
- else
- fallthrough
- for
- guard
- if
- in
- repeat
- return
- switch
- where
- while
3. Keywords for Expressions and Types
- as
- Any
- catch
- false
- is
- nil
- rethrows
- super
- self
- Self
- throw
- throws
- true
- try
- Type
4. Keywords Used in Patterns
- _
- #available
- #file
- #fileID
- #filePath
- #function
- #line
- #column
- #dsohandle
5. Keywords for Contextual Use
These are not strictly reserved but have special meaning in certain contexts:
- actor
- async
- await
- final
- lazy
- mutating
- nonmutating
- optional
- override
- required
- throws
- weak
- unowned
Swift - Whitespace and Literals
Whitespace in Swift
Whitespace in Swift refers to spaces, tabs, newlines, and comments used to improve readability and separate different elements in a statement.
Example:
var age
Without whitespace, the Swift compiler would not recognize varage as
two separate tokens.
However, some parts of a statement do not require whitespace:
var fruits
= apples
+ oranges
But for better readability, always use equal spaces around operators:
var fruits
=apples+oranges // ❌ Incorrect (no spaces)
var fruits
= apples
+ oranges
// ✅ Correct