Installing PHP & Setting Up Local Server Using XAMPP
If you're just starting with PHP, the easiest way to get your development environment up and running is by using XAMPP. It bundles Apache (web server), MySQL (database), PHP, and phpMyAdmin into one package.
What is XAMPP?
XAMPP stands for:
- X – Cross-platform (works on Windows, macOS, Linux)
- A – Apache HTTP Server
- M – MySQL Database
- P – PHP Programming Language
- P – Perl Programming Language
It allows you to run a local web server on your computer, which is perfect for testing and developing PHP websites without buying hosting.
Benefits of Using XAMPP for PHP Development
- All-in-one package: Includes everything needed for PHP development
- Easy installation: Simple setup process
- Cross-platform: Available for Windows, macOS, and Linux
- Free and open source: No licensing costs
- Local development: Test websites without internet
- phpMyAdmin included: Manage MySQL databases easily
Step-by-Step Guide to Install XAMPP
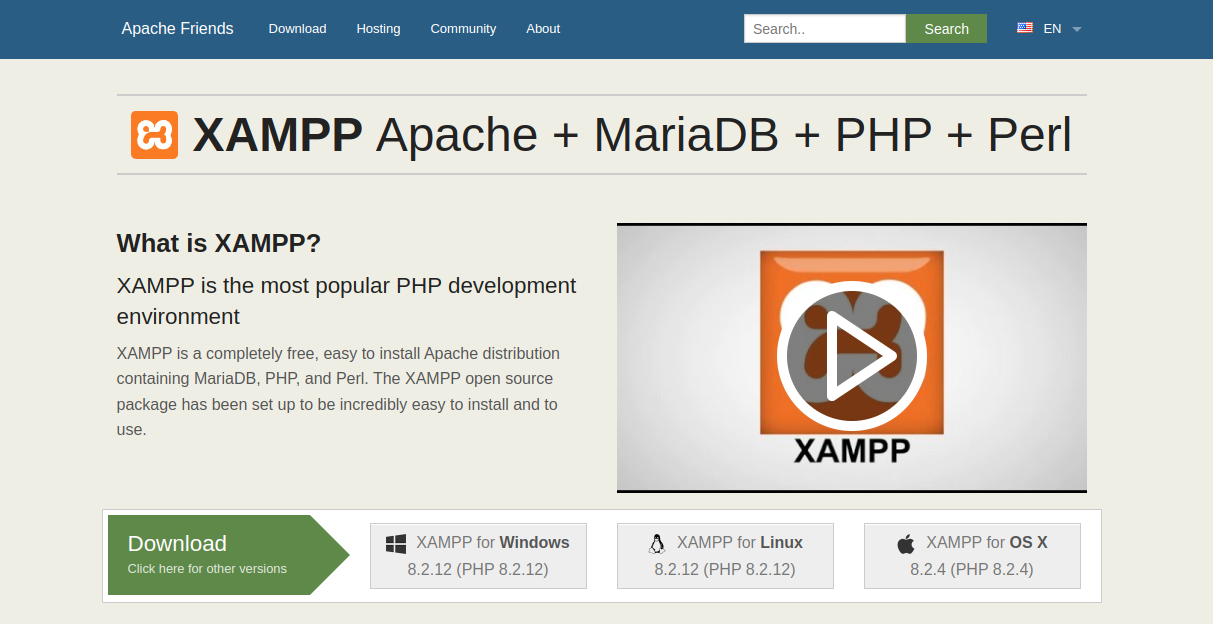
Step 1: Download XAMPP
- Visit the official Apache Friends website: https://www.apachefriends.org
- Choose the version for your OS (Windows, macOS, or Linux)
- Download the latest XAMPP version that supports PHP 8.x
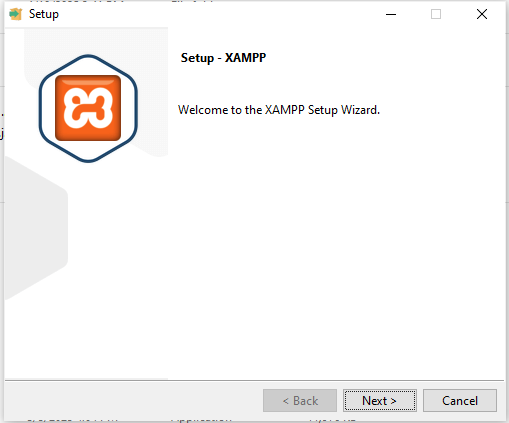
Step 2: Install XAMPP
- Open the downloaded installer file.
- You may receive a Windows security warning – click "Yes" to continue.
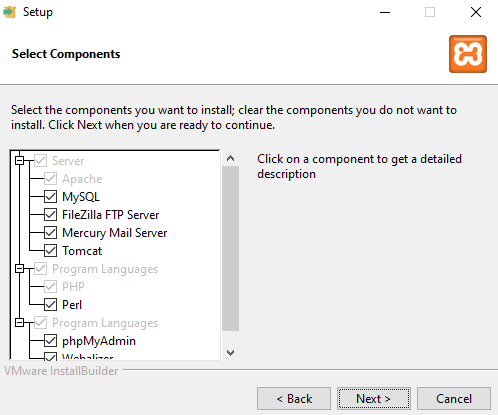
- In the setup wizard, click "Next" until you reach the component selection.
You can keep all default components selected: Apache, MySQL, PHP, phpMyAdmin, etc.
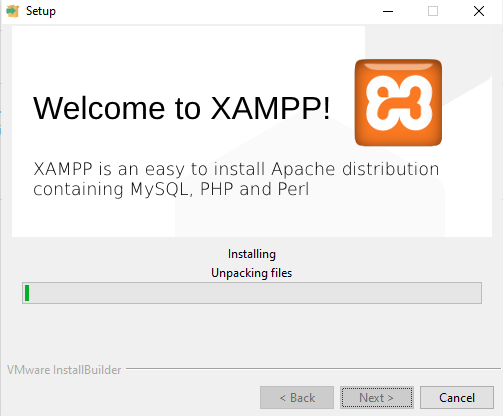
- Choose the installation directory (default is C:\xampp) and continue.
- Wait for the installation to complete.
Step 3: Launch XAMPP Control Panel
- After installation, run the XAMPP Control Panel.
-
Start the following services:
- Apache (web server)
- MySQL (database server)
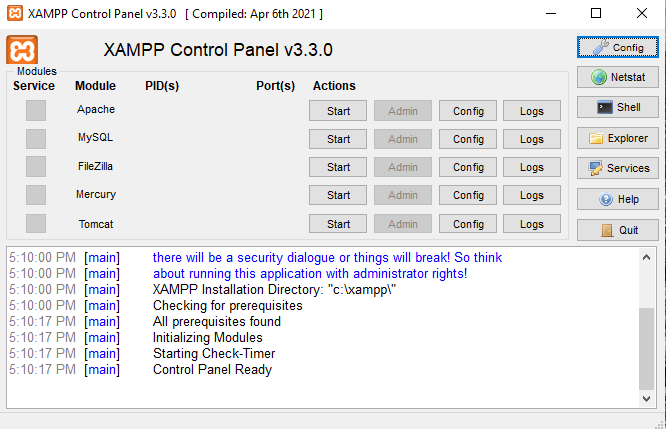
If you see a Windows Firewall warning, allow access to both Apache and MySQL.
Step 4: Test Your Local Server
1. Verify XAMPP Installation
- Open your browser and go to:
http://localhost/ - You should see the XAMPP welcome page.
2. Locate the htdocs Directory
- Go to:
C:\xampp\htdocs\ - This is the root folder where you place your PHP files.
3. Create a Test PHP File
Create a test file named test.php inside the htdocs folder and
add the following code:
<?php
echo "PHP is working!";
?>
Expected Output
4. Access Your Test File
- Open your browser and go to:
http://localhost/test.php - You should see:
PHP is working!
Troubleshooting Common XAMPP Issues
Port Conflicts
If Apache won't start, it might be because port 80 or 443 is in use:
- Skype, IIS, or other web servers can block these ports
- Solution: Change Apache ports in
httpd.confor close conflicting applications
MySQL Not Starting
If MySQL fails to start:
- Check if another MySQL instance is running
- Look at the error logs in
xampp/mysql/data/
PHP Errors
If PHP scripts aren't working:
- Check that files are saved in
htdocswith.phpextension - Verify error logs in
xampp/php/logs/ - Ensure you're accessing files via
http://localhost/
Alternative PHP Development Environments
While XAMPP is great for beginners, other options exist:
| Tool | Description | Best For |
|---|---|---|
| WAMP | Windows-only stack (Apache, MySQL, PHP) | Windows developers |
| MAMP | macOS/Windows stack with Pro version available | macOS users |
| Laragon | Lightweight Windows PHP environment | Laravel developers |
| Docker | Containerized development environments | Advanced users, team projects |
Next Steps in Your PHP Journey
Now that you have PHP installed:
- Learn basic PHP syntax and structure
- Understand how PHP interacts with HTML
- Explore working with forms and user input
- Connect PHP to MySQL databases
- Build your first PHP application